|
|
|
|
The Making of a Miniature Tarot Shop
Here are just a few of the steps taken to make one of these lovely shops.
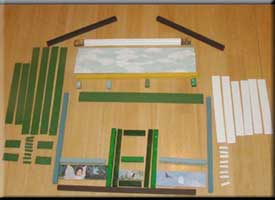
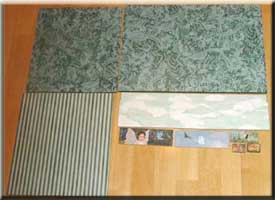
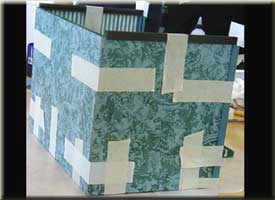
The first step: Arnell sands and paints all of the pieces several times till soft and smooth. Then begins the
collage process.
|
|
|
|
|
|
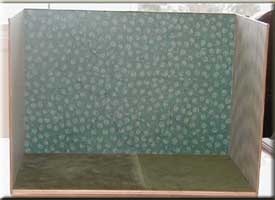
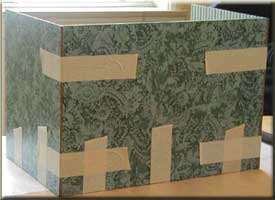
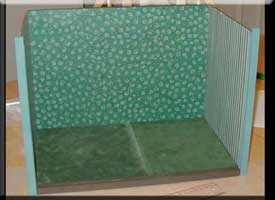
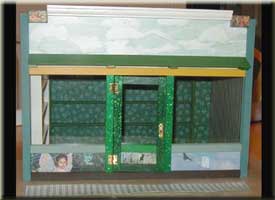
After several layers of collage and protective coating comes the assembly. Michael assembles the walls and floor (above). Then starts adding trim to the box, and assembles the door to dry.

|
|
|
|
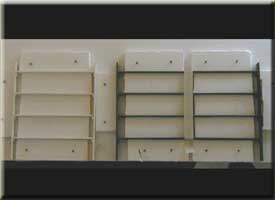
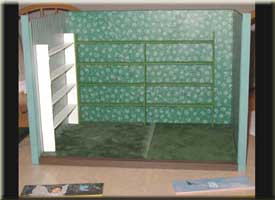
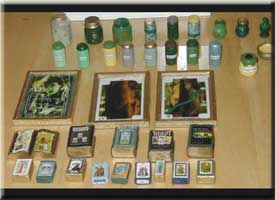
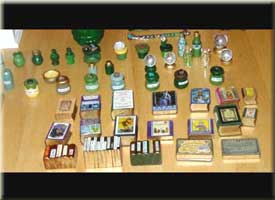
The shelves are first assembled in a template, then glued in. The front is then placed on in 3 steps. Before, during and after the assembly of the shop; Arnell is creating the tiny accessories that fill the shop. Painting and decorating furniture and wall paintings to match the decor of the shop, creating miniature replicas of real Tarot decks and metaphysical books, and an assortment of crystal balls, Ouija Boards, magic wands, and jars of herbs, potions, beads and gems and other treasures.
|
|
 |

|
|
|
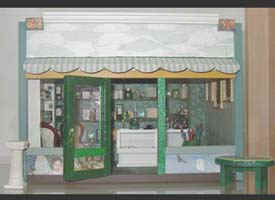
Finally the furniture and merchandise is moved in, the shop's name is placed on the door and the Owner's key is hung from the doorknob. Another occult shop open for business.